Easy Moth Craft for Kids: A Fun Paper Craft With Little to No Mess
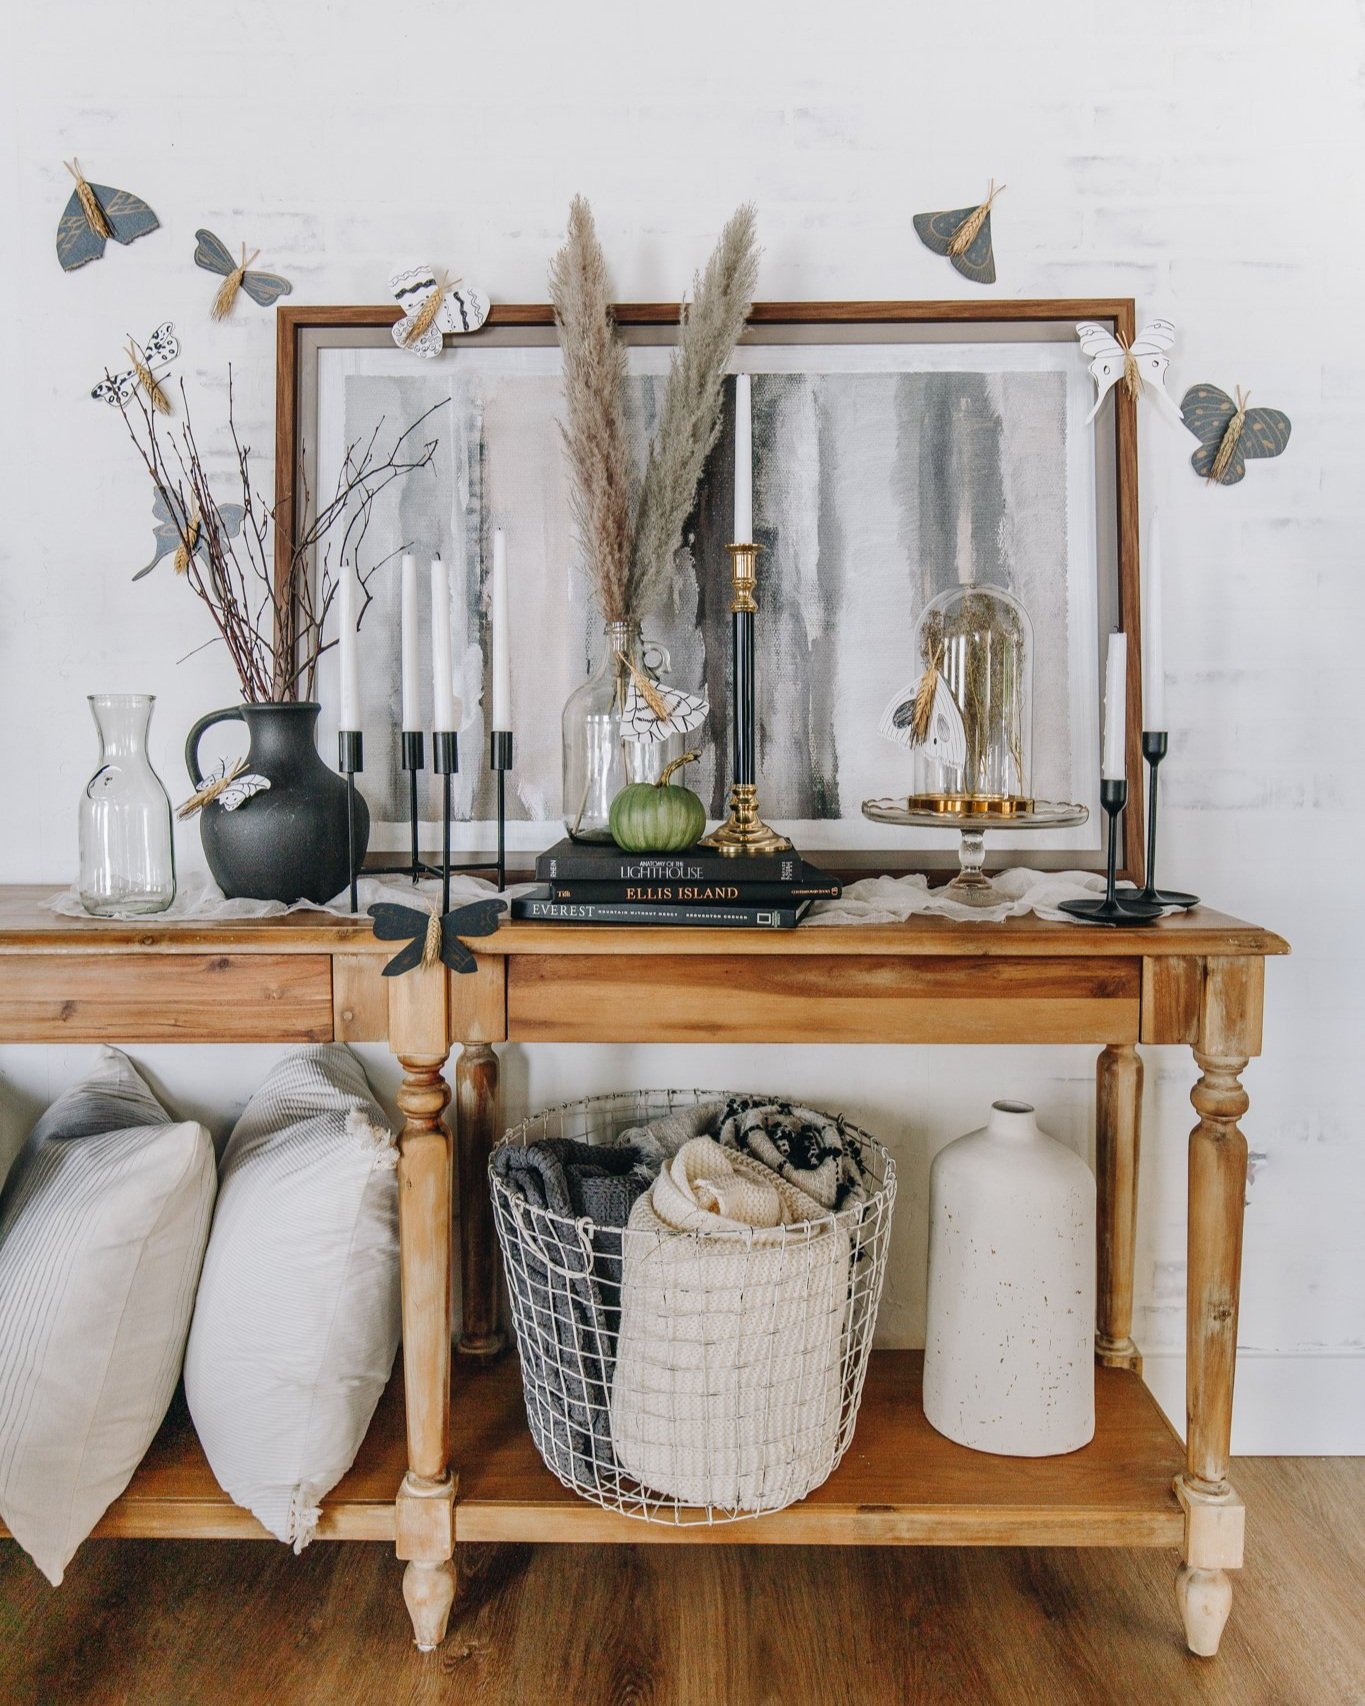
Moths are fascinating creatures that few people know much about, like the fact that they make up 80% of the Lepidoptera group (butterflies). They are also sensitive to environmental changes and can alert us to surrounding shifts (source). Because they morph form, they're often seen as a symbol of transformation and change, making them the perfect topic for a craft project with kids. This easy moth craft is simple enough for even the youngest children to complete, resulting in a beautiful paper creation that you can display proudly anywhere you have space. Plus, there's virtually no mess involved, so you can relax and have fun crafting with your child without worrying about the clean-up afterward!
To begin, clear off your table space and gather these craft supplies:
White and Black Construction Paper
Scissors
Pencils and Markers
Hot Glue Gun or Craft Glue
Now that your supplies are ready to go, you are prepared and ready to begin. The fun starts now!
Step 1: Draw and Cutout the Moth Wings
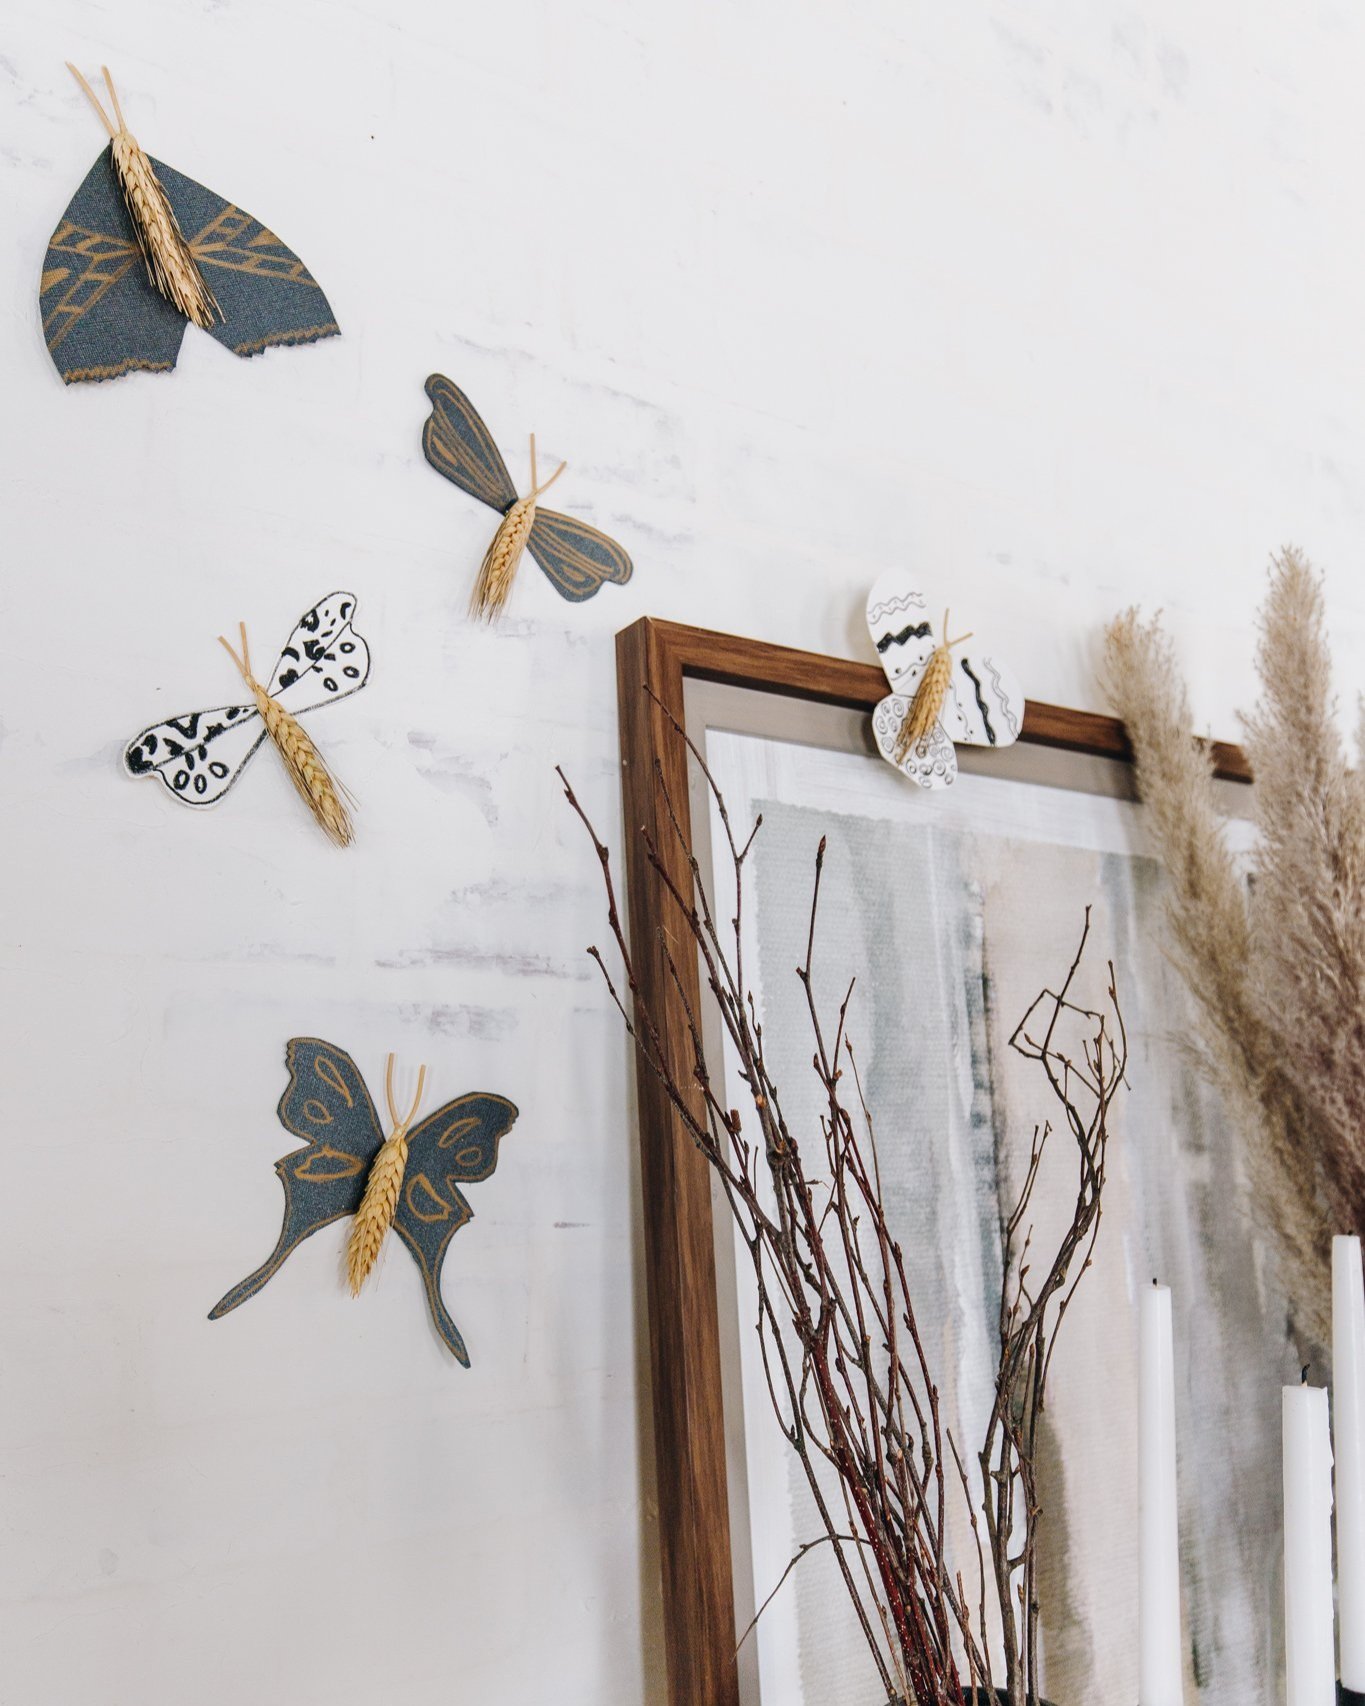
One of the most fun parts about making your moth is getting to design the shape of its wings! You can make them big or small, colorful or plain, symmetrical or asymmetrical. The sky's the limit! But before you start getting too creative, you must first take care of one crucial step: folding the construction paper in half and drawing the wings along the folded part of the paper with a pencil. This step will ensure that once you unfold the paper, both wings are identical (unless you want them to be different, of course). Once you've got your wings drawn, it's time to cut them out. Just be careful not to cut yourself... or the folded part of your paper! You may want to help your child with this step.
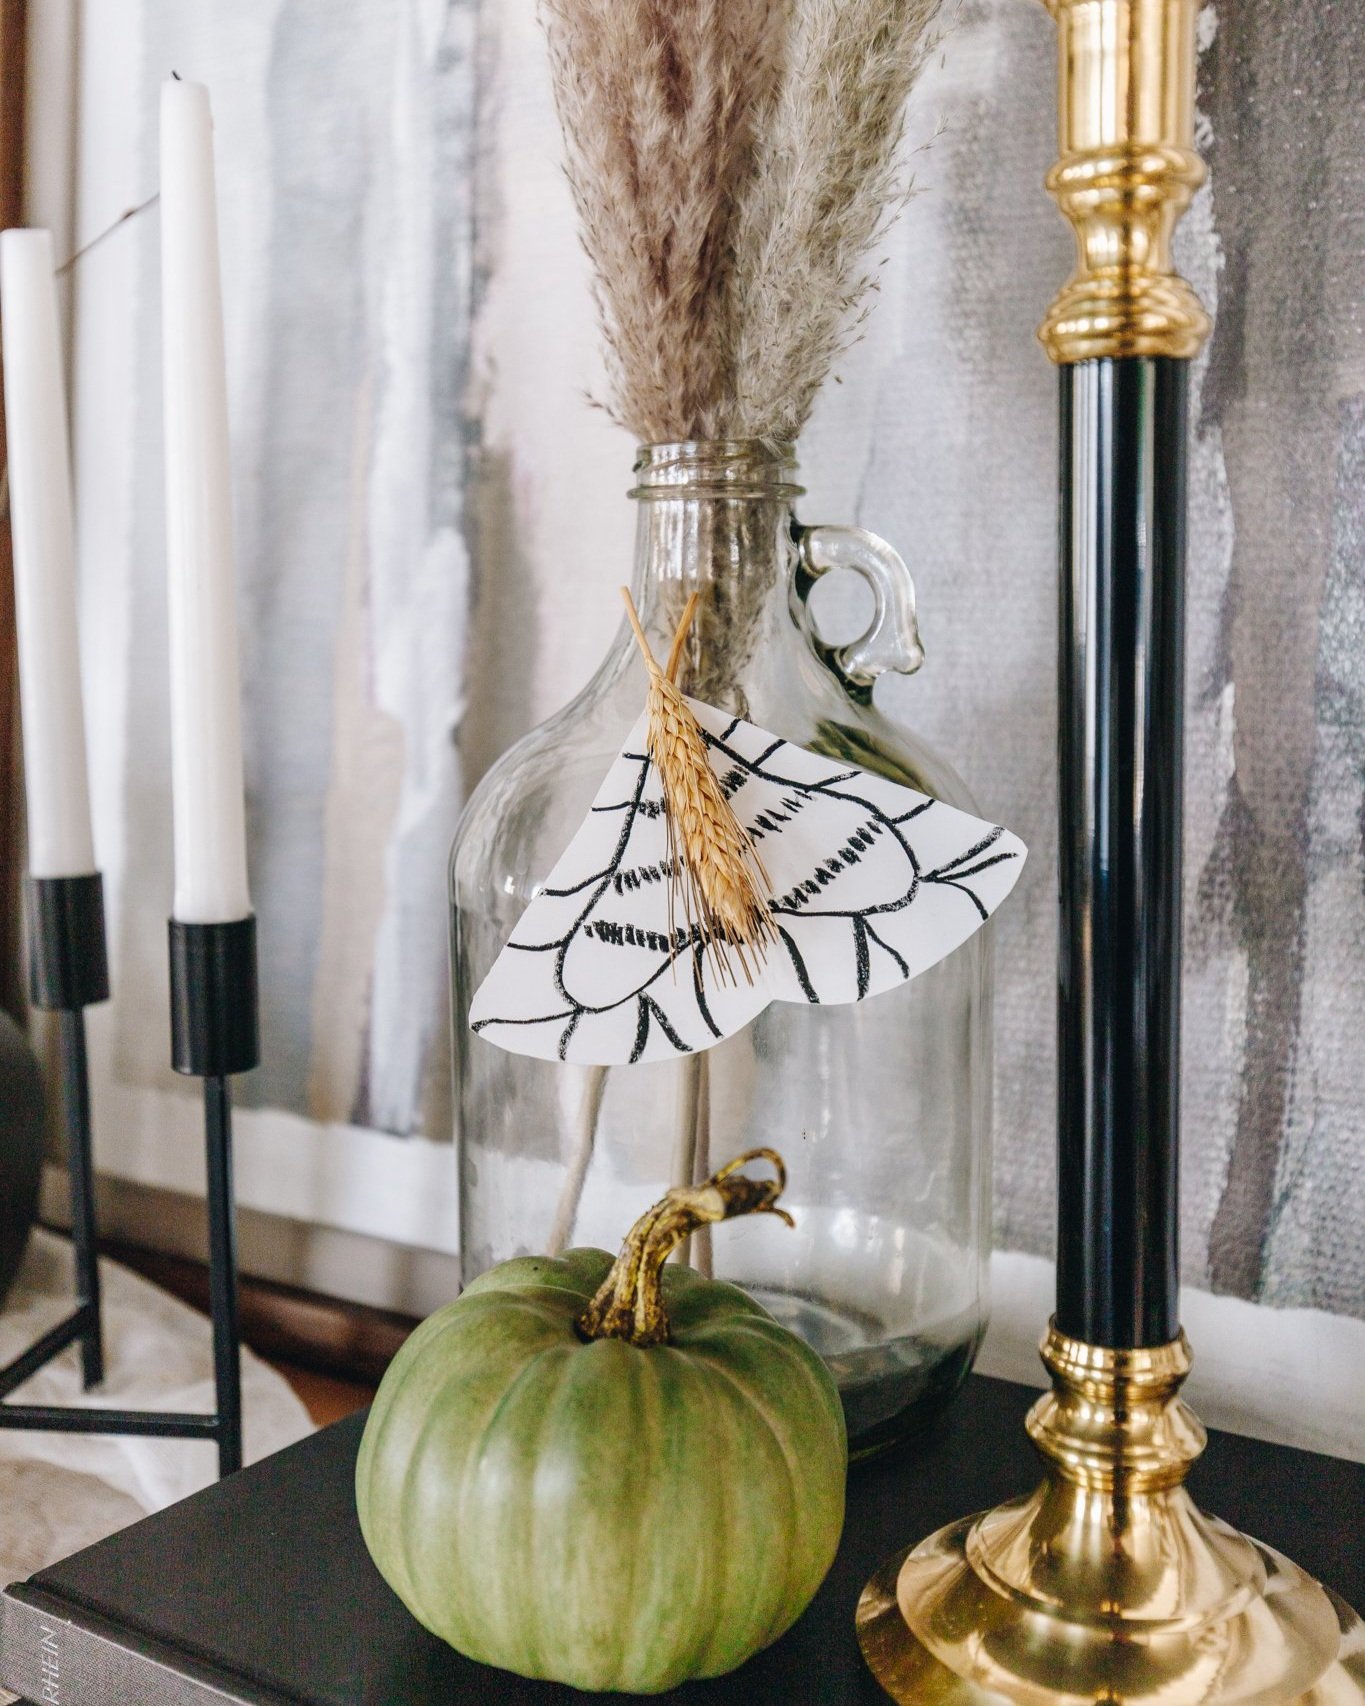
Step 2: Draw Designs On the Moth Wings
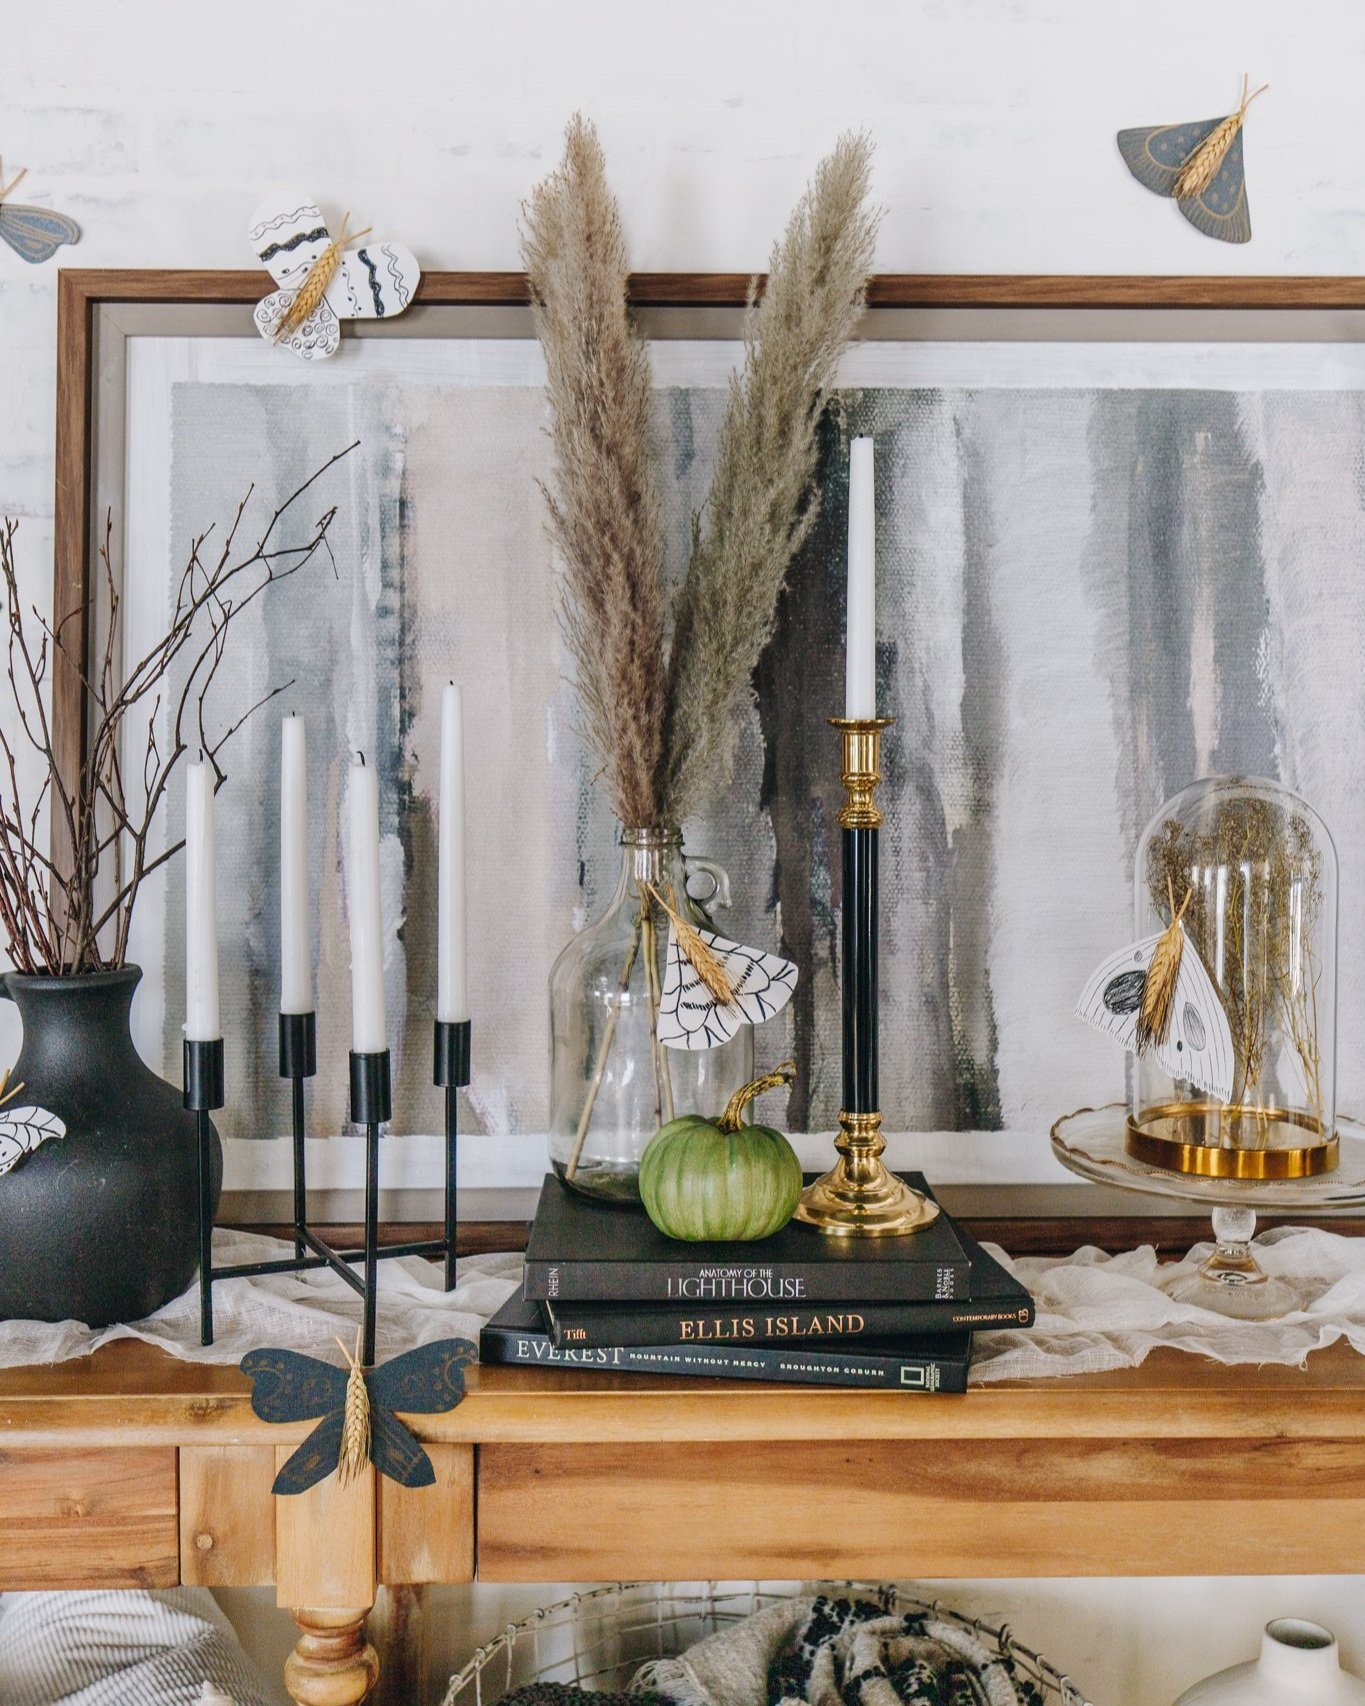
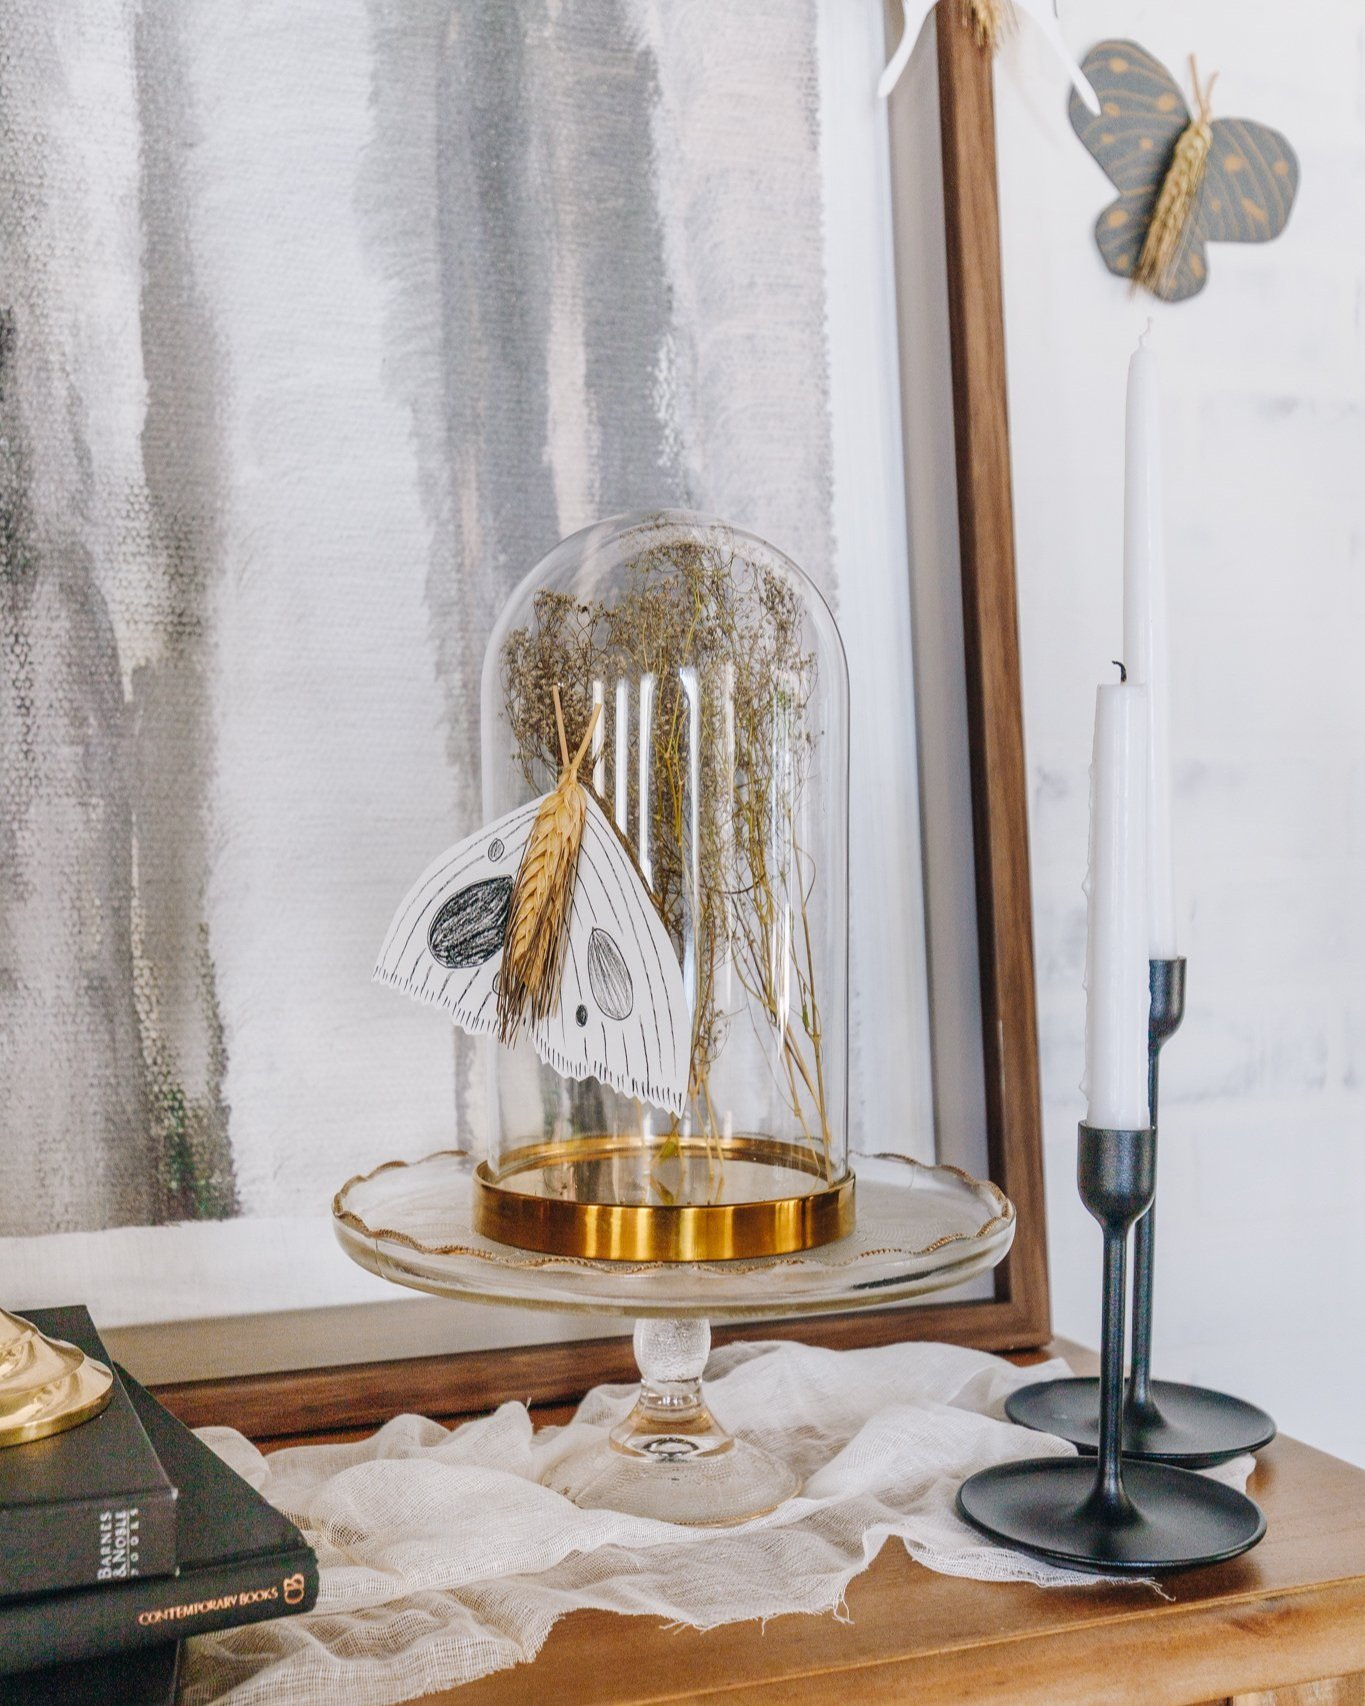
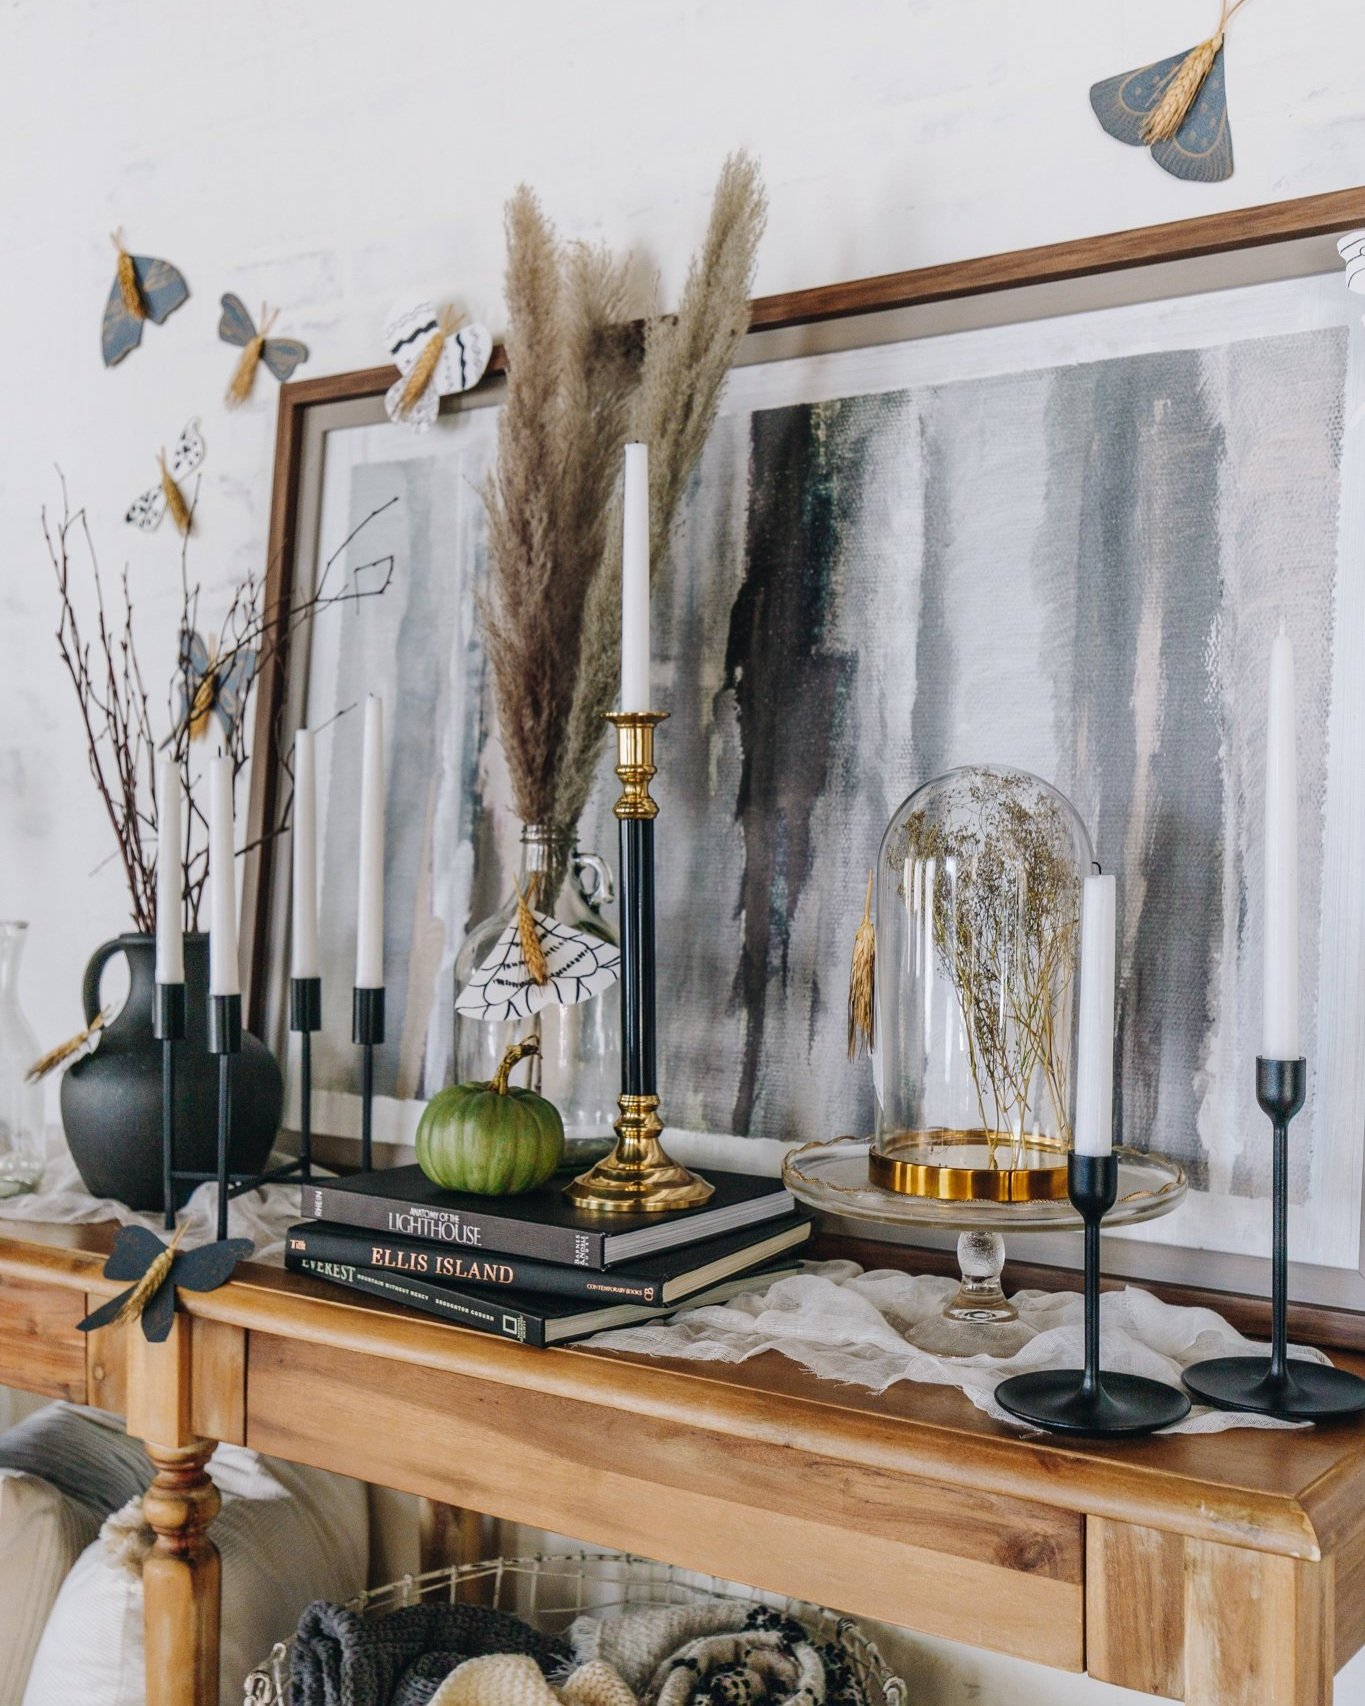
This next step is essential when it comes to making a moth. That's because it's in this moment when you're drawing designs on the moth's wings to create texture that brings the creature to life. It's also your opportunity to add your personal touch and make the moth your own. You can make your moth as abstract or as realistic as you want. If you want to create a more realistic-looking moth, you can use a reference photo to help you with the proportions and details. But if you're feeling more abstract, go wild with your designs. There are no wrong answers here. Just have fun and be creative. We like to mix it up and do a little bit of both. We added some abstract swirls and dots, but we also included realistic features like eyespots. How you want to design your moth's wings is up to you. So have fun with it and let your creativity flow.
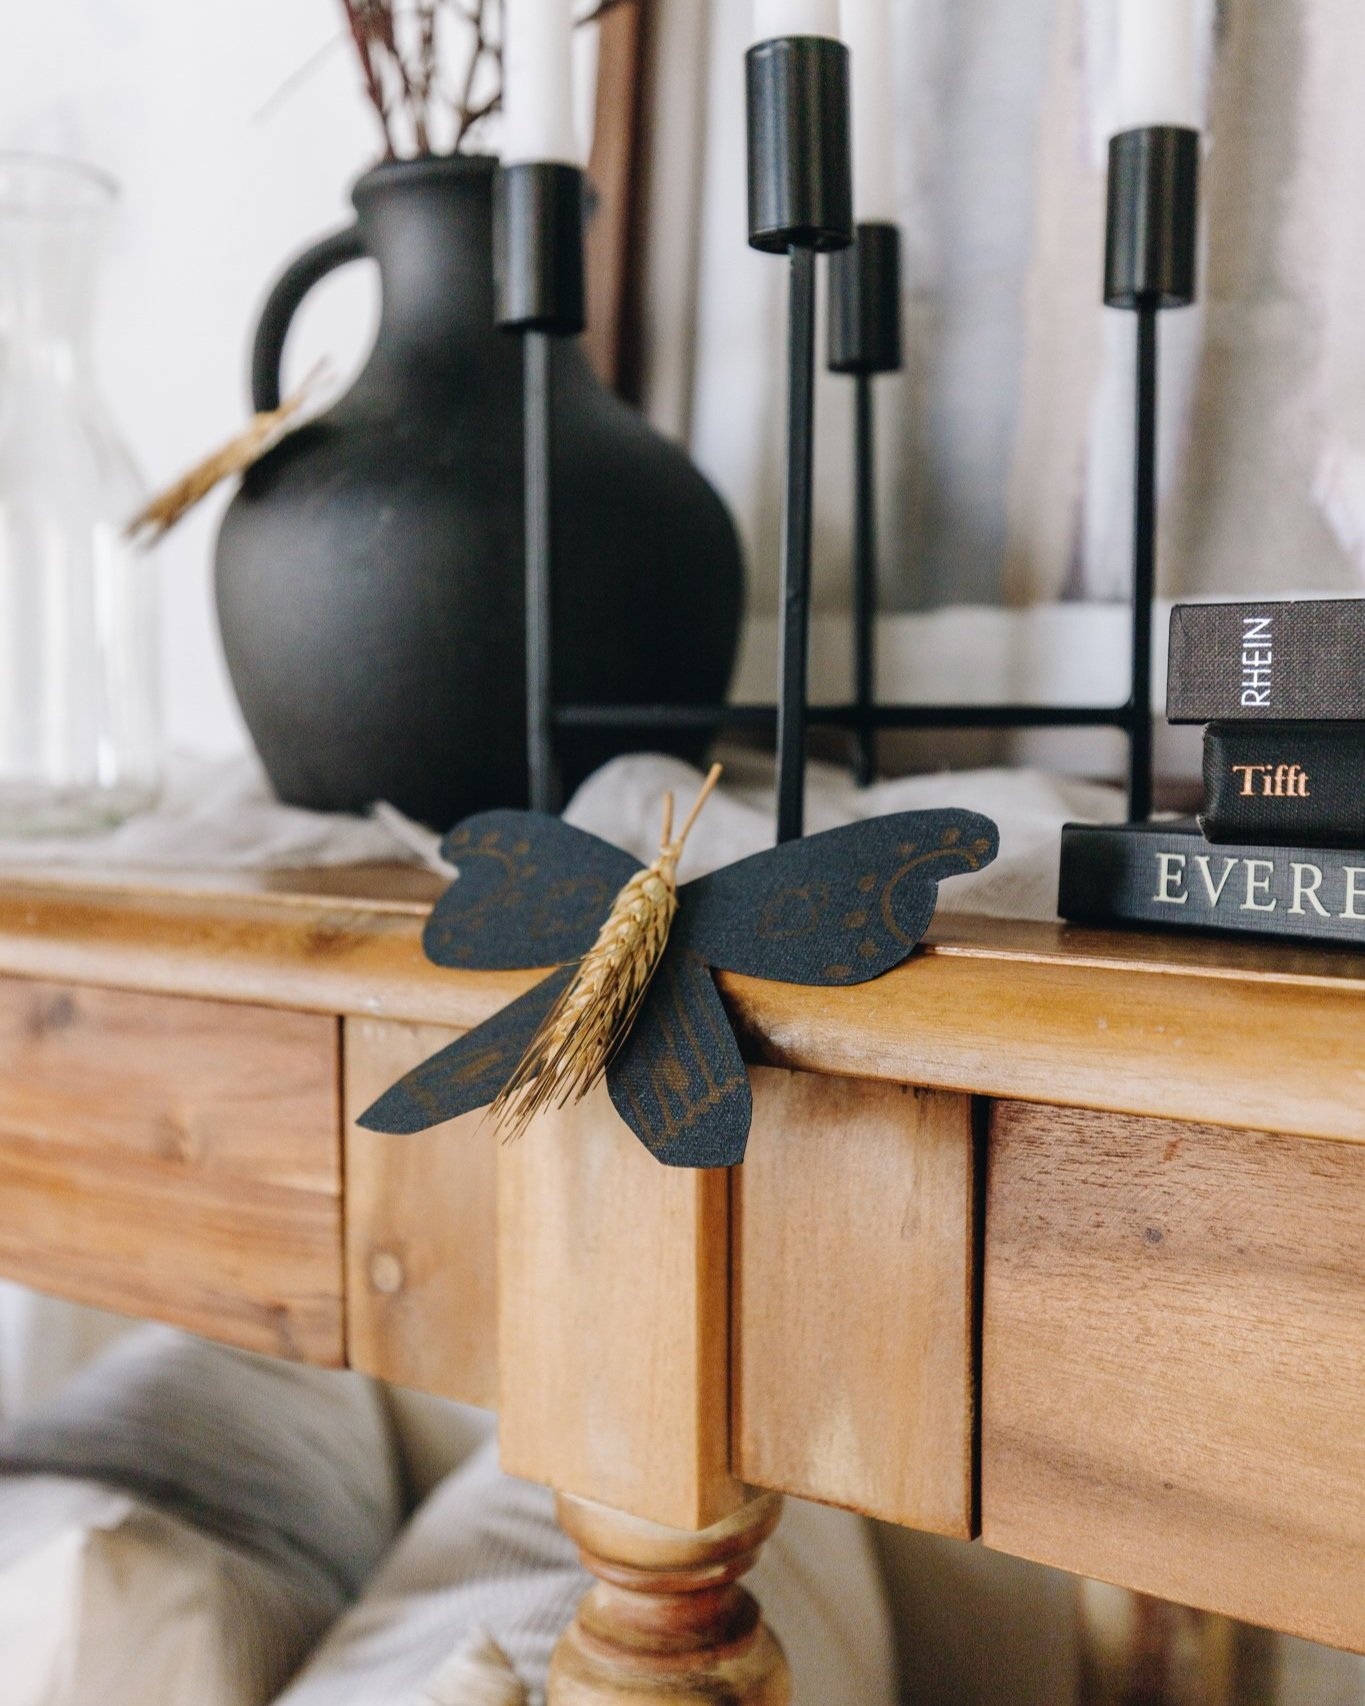
Step 3: Make and Attach the Moth Bodies (Imagos)
Fun fact: Butterflies and moths have three primary body (also known as imago) sections, a head, a thorax, and an abdomen. On the head are two compound eyes, a proboscis, and the attachment points for two antennae (source). So, for our craft, we will use some Dried Blackbeard Wheat to recreate the moth's imago. First, carefully use scissors to trim the stem off of a piece of wheat, leaving the head and an inch of the stem to be glued to the moth's wings. Next, fire up the hot glue gun and attach it to the wings, right along the center fold. Cut another inch of stem to glue onto the imago as the second antenna. You, the adult, should do this step or take the opportunity to teach your child safety practices when using a hot glue gun.
And that's it! You're done! Now, pat yourself on the back because you have just created a work of art. Once you have finished admiring your handiwork, take some pictures and share them with us on social media by tagging us @bindleandbrass or using the hashtag #BindleAndBrass. We can't wait to see what you come up with. Happy crafting!