9 Easy Steps to a Brunch Grazing Table, Ames and Olives Shows Us How
Oh brunch, the meal that has it all: savory options, like bacon and eggs, and sweet ones, such as pancakes and waffles. But sometimes, it's nice to shake things up a bit, let your guests have the freedom to decide what they want on their plate, and go for a grazing table instead.
Meet Amy of Ames and Olives, an extraordinary lady who recently turned a food hobby into a passionate career. She provides a step-by-step tutorial on creating a beautiful grazing table for any occasion. From picking out the ideal ingredients to arranging them artfully on your table, this is one brunch dish you can take on yourself. With just nine easy steps, you can create an impressive spread that will allow your guests to create their own (in the words of Amy) "Adult Lunchable." So get creative and start grazing!

Step 1: Lay the Platters
Start with a good base for adding in the layers. Amy used an inexpensive muslin cloth to place a mixture of varying heights of trays and boards on top. This makes the food visible and creates more space by laying food under taller stands.

Step 2: Place the Sauce Bowls
It’s time to think about what makes a great compliment to brunch pastries. Marmalades pair well with different bread, while olives and capers are the perfect complement to cheeses and meats. Place your bowls now to nest the next steps around.

Step 3: Arrange the Cheeses
Scatter your cheeses throughout the boards to make accessibility easy. Use soft, spreadable cheeses like Brie, Ricotta, and Goat for smearing. Hard cheeses of Camembert, Havarti, and Gouda complement the meats.

Step 4: Add the Pastries
Add the "dough" to the center. Choose a good variety, croissants for buttery lovers, plain bagels for creating your own tasters, savory for the adventurous. Another good addition could be waffles for the sweet tooth.

Step 5: Lay the Meats
Think of the savory taste of layering atop your bagel. The flavor possibilities are limitless. Choose meats that impart different complex pallets, from lox to pepperoni to bacon to eggs. You could even use jackfruit for a vegetarian option.

Step 6: Brighten with Fruit
Not only do fruits taste fabulous with meats and cheeses, but they also cleanse the pallet for the next taste. As well as brighten up the board and add beautiful color.

Step 7: Incorporate Herbs and Dried Naturals
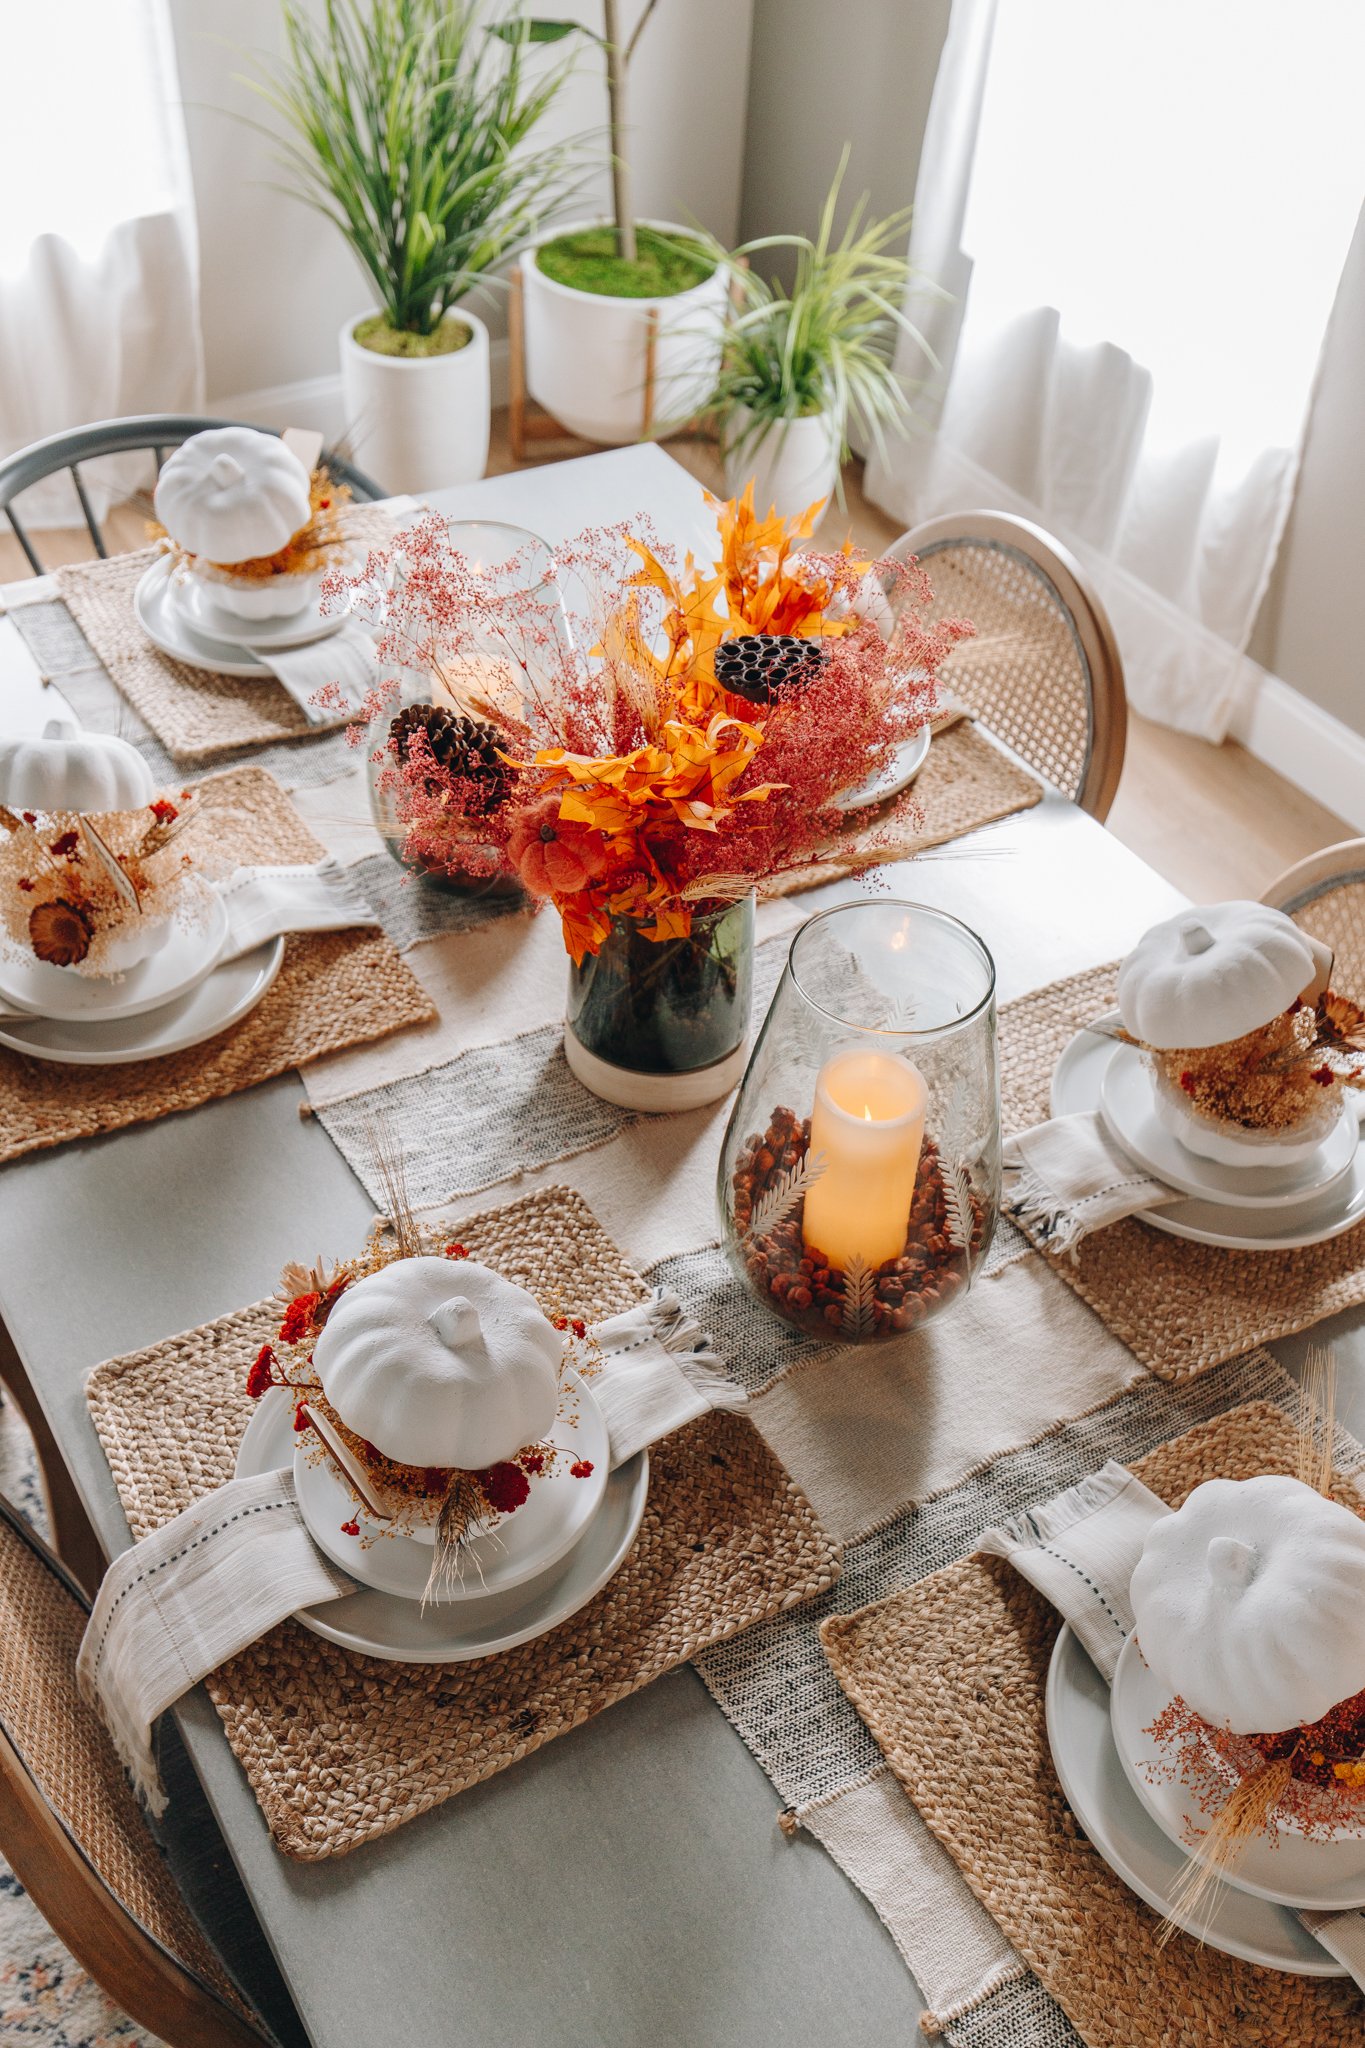
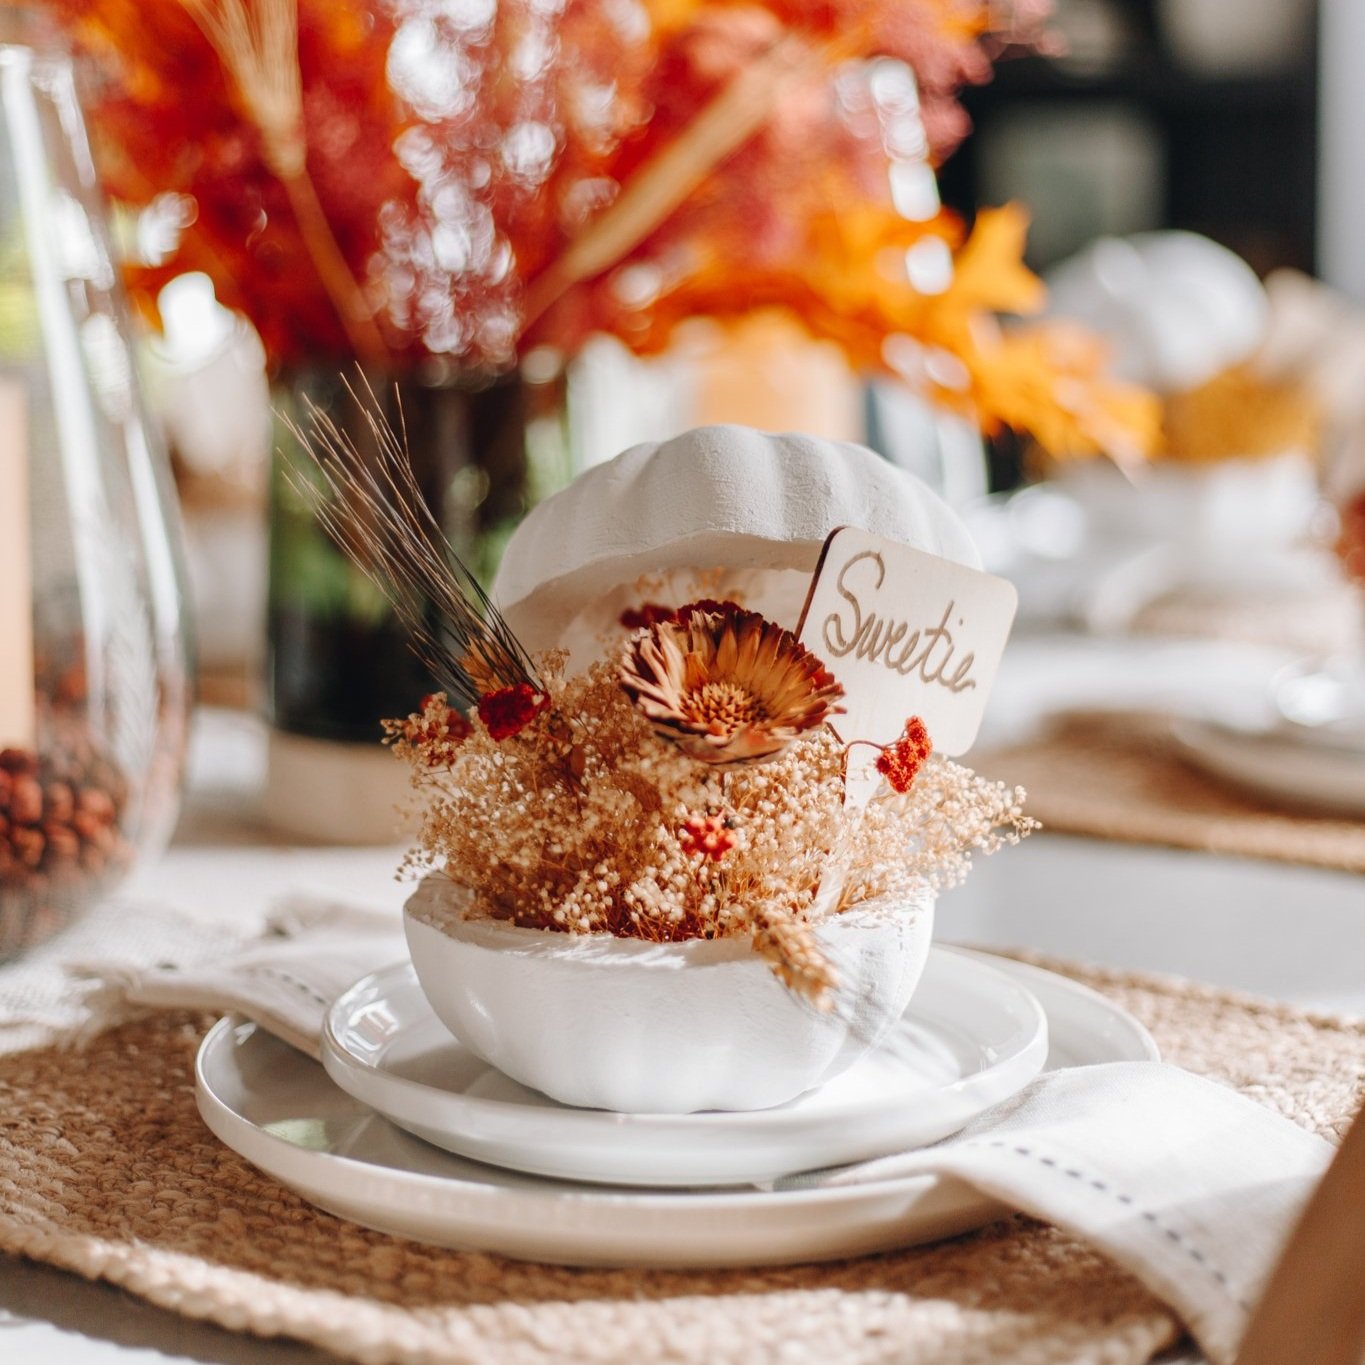
Give your table more flair and texture. Incorporate herbs and Bindle & Brass dried naturals, place them on the edges of the charcuterie, and even atop the cheese and sauces. They add that extra special touch, fragrance, and even taste.

Step 8: Set the Plates
There are two ways to lay the plates with a grazing table. First, you can set it up buffet style; this is great for a large gathering. Or you can set the dishes on the table, and everyone can serve as they enjoy; it works well for intimate settings or to combat the inconvenience of standing in long lines.

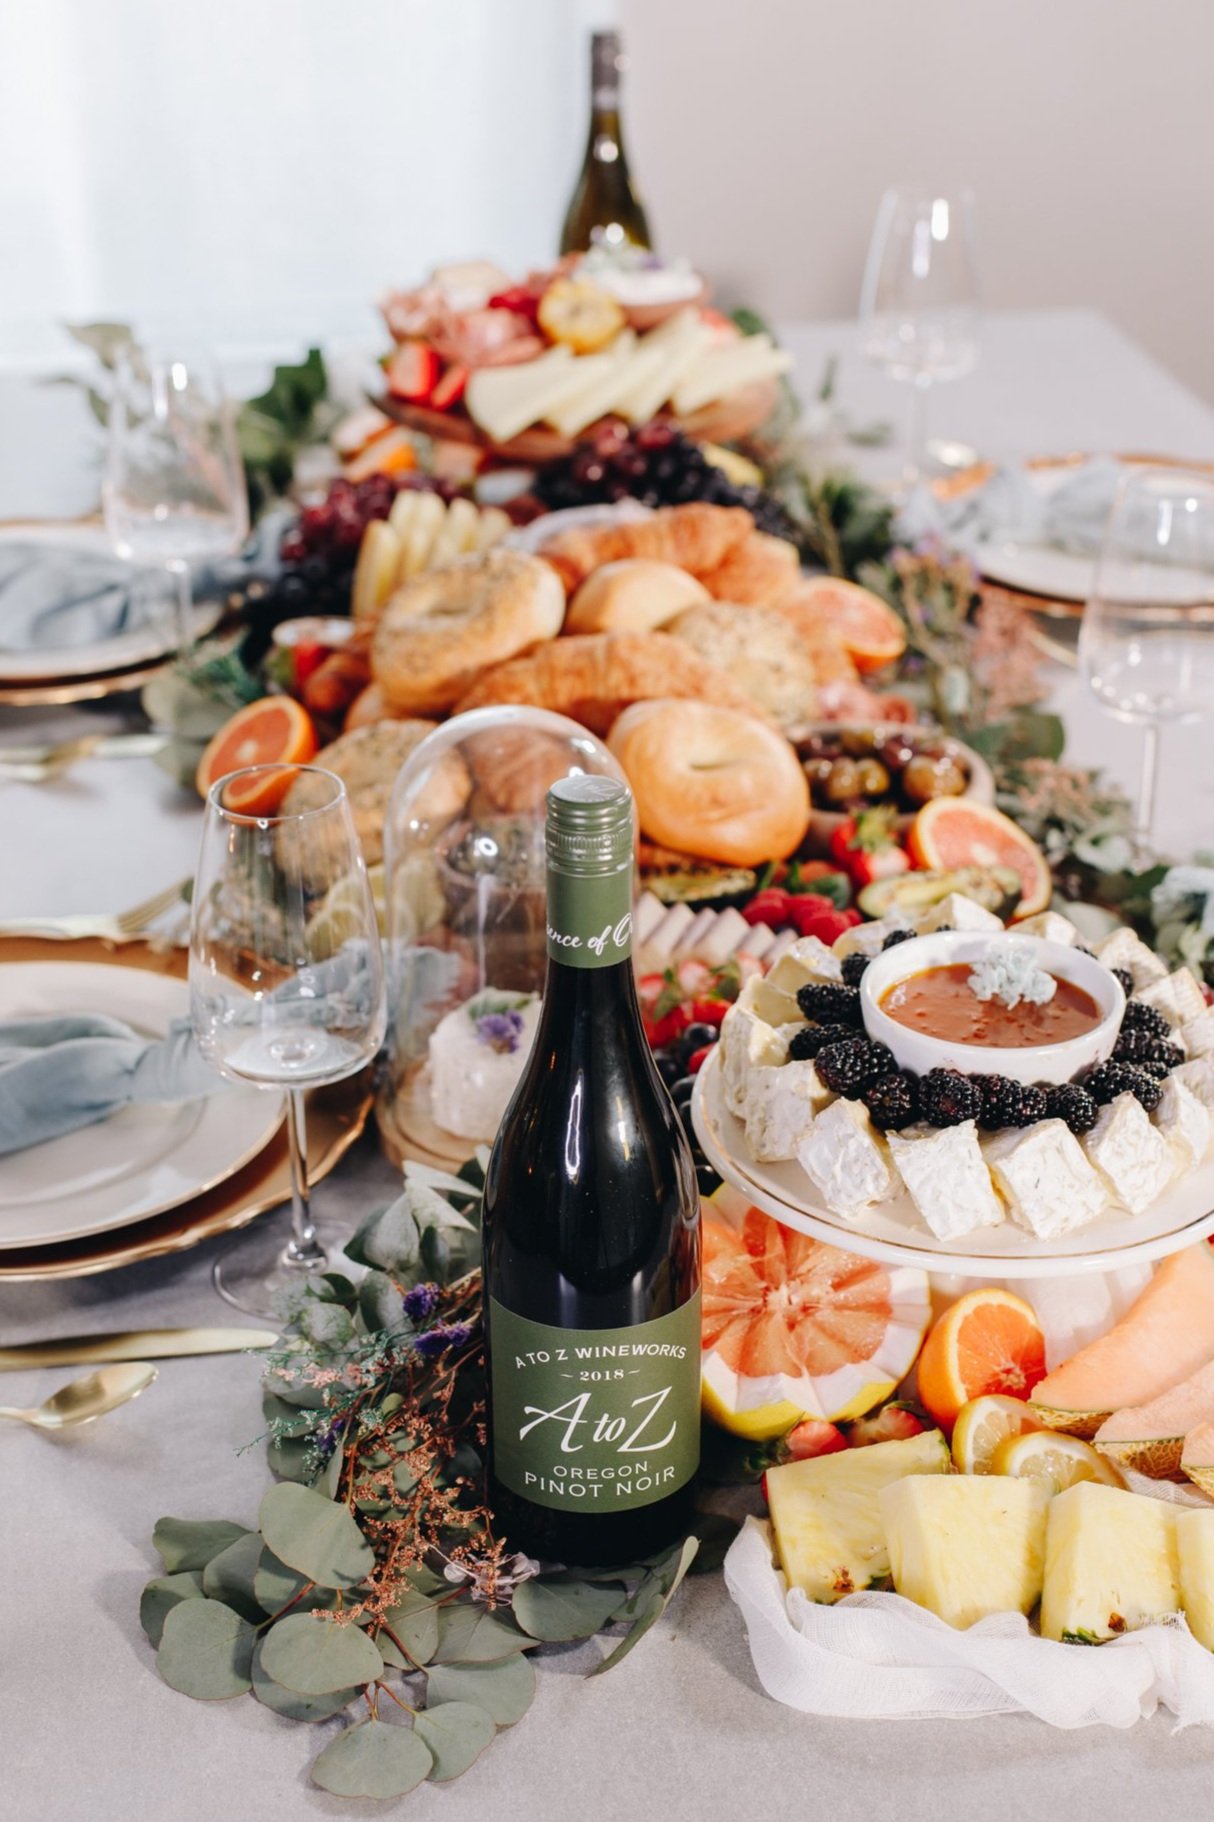
Step 9: Include the Beverages
Last but definitely not least, what will your guests drink? Chardonnay & Pinot Noir pair lovely with cheese, pastries, and fruits, bringing out each note. What about nonalcoholic drinks? Tea, drinking chocolate, lemonade, and soda water complement charcuterie plates.

Making a grazing table can be fun and creative, but if it sounds daunting to you and not your jam, find a specialist like Amy @amesandolives and let them take the lead.